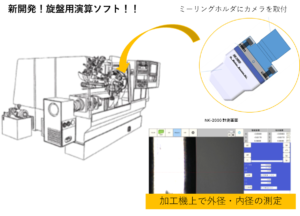
(1) Purpose
After machining the outer and inner diameters on a lathe, the dimensions are measured by measuring outside the machine.
The number of 3D measuring machines is limited, and it is necessary to solve the stagnation of the process with an on-board measuring machine when stagnation to the next process
occurs while waiting in line for measurement.
(2) Points of introduction
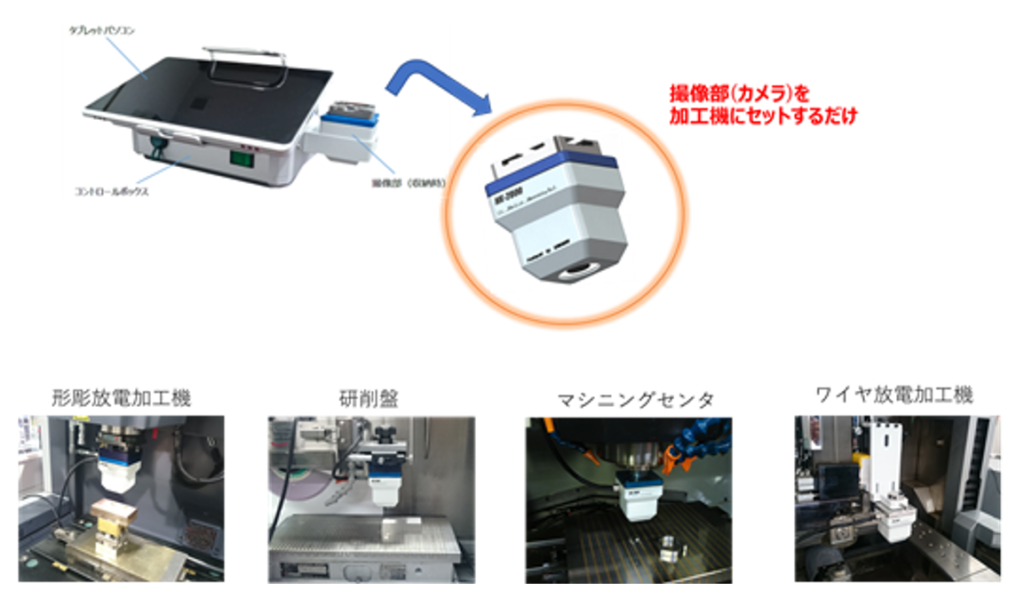
Modified and introduced the application of the NK-2000 on-board measuring machine manufactured by Kumamoto Seiken Kogyo Co., Ltd.
・We
have a track record of introducing a large number of machines in machining centers, shape-engraving electric discharge machines, wire electric discharge machines, and various grinding machines.
⇒ can be diverted to multiple machine tools of in-house equipment.
・ The development of difficult remodeling plans at other manufacturers is quick and there are many withdrawals.
・The ability of the selected lens is high, and the image image related to positioning is clear.
(3) Examples
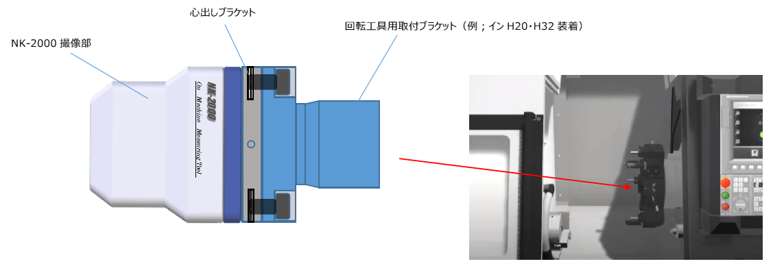
■ Mounting method
Attach to the holder for the rotating tool on the turret side
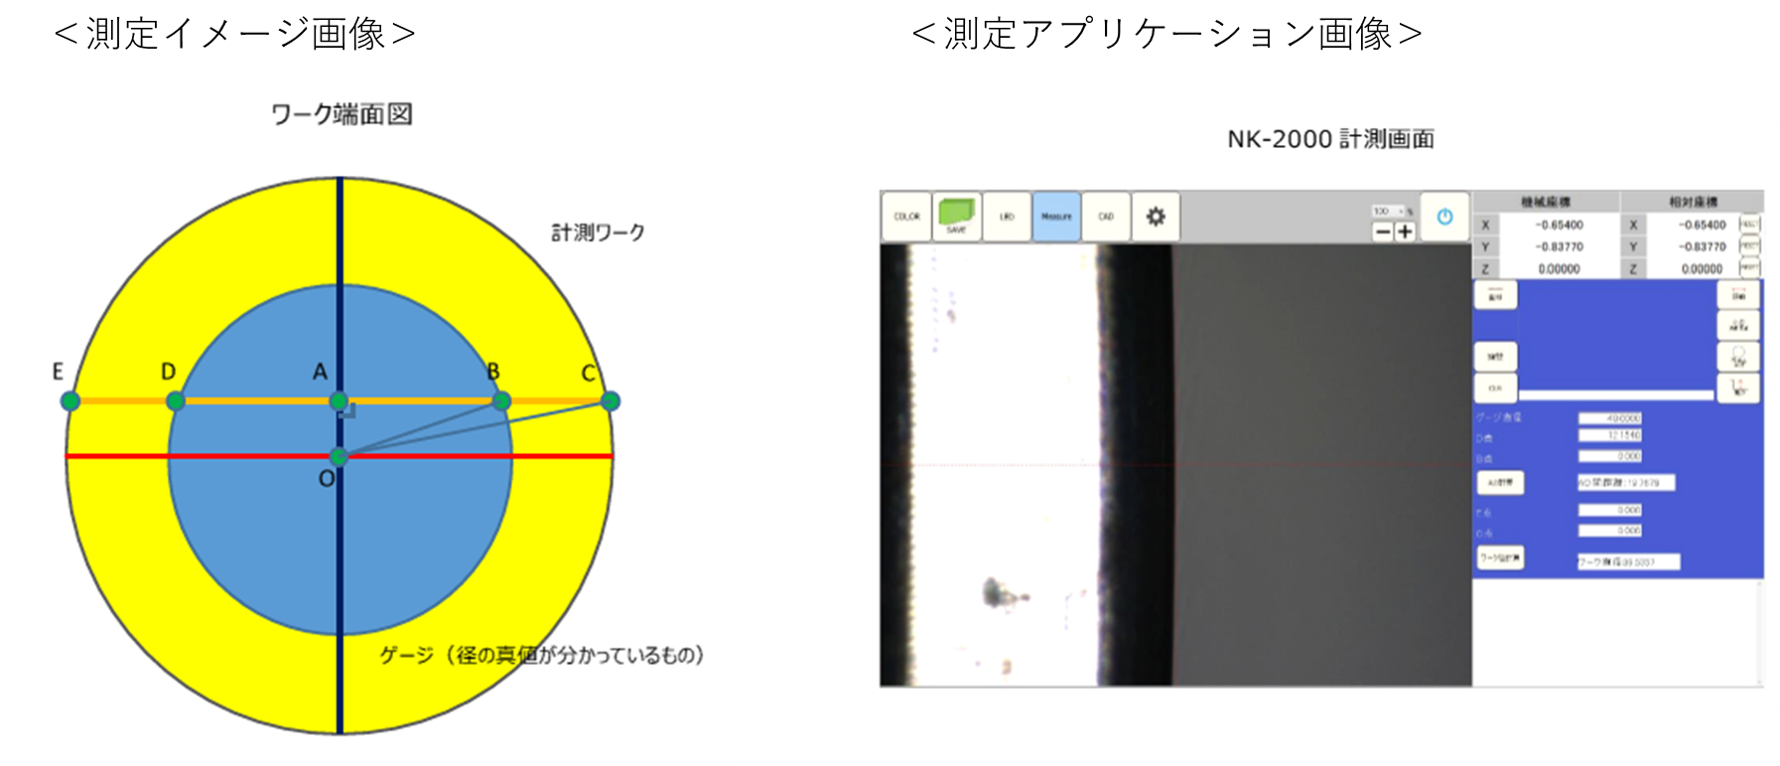
■ Measurement method A method
of measuring from the amount of movement on the X axis of the lathe.
However, since there is a gap between the movement of the X axis and the chuck center,
prepare a gauge with an outer diameter in advance and measure the error.
(Measurement image image: The yellow part is the gauge).
Thereafter, after
machining the workpiece to be measured (measurement image image: blue part is the workpiece), the error amount when
measuring the gauge is input to the correction value of the application, and the measurement is performed by automatic calculation (measurement application image)
(3) Testimonials from customers
・The process of performing external measurement after lathe processing has disappeared, and productivity has increased.
・Since it is possible to measure 1/100 on the aircraft, it has become possible to judge the necessity of additional work on the aircraft.

